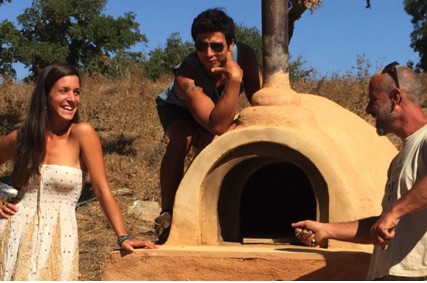
The earth oven was one of the first building projects we had in Azula. It was fun, relatively easy and very social. We had the help of friends, neighbours and children. It doesn’t cease to bring people together for delicious meals, turning every little event into a party when being used. An absolutely must have in every household that has the space for it!
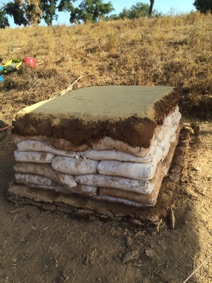
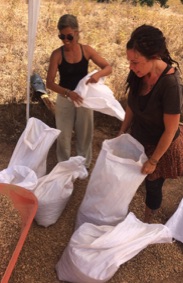
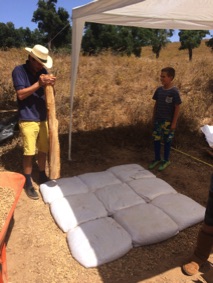
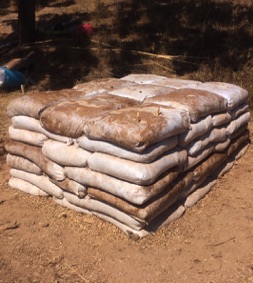
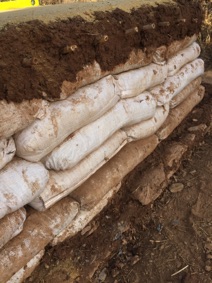
The first thing we did was to level the ground where the oven was going to be build and laid a few cm of gravel. After that we started filling a few nylon bags with gravel and folded them evenly and laid two layers of the desired base area (about 2,7 m2). The reason to start with gravel bags is to avoid moisture from going up to the rest of the construction. Between the first and second layer of stone bags we put barbed wire to make sure the bags won’t move. It is important not to lay the bags consecutively on top of one another, try to stagger the bags as if you would when laying bricks. This means you might need to make larger bags or fill them less to make halves. The following 4 layers were made with bags filled with the earth we had around and stamped strongly with a big piece of wood. We used Anna’s hip hight as the hight of the floor of the oven since she’s a tall woman, making it comfortable for men and women to use (and also to encourage her to make more use of her culinary skills).
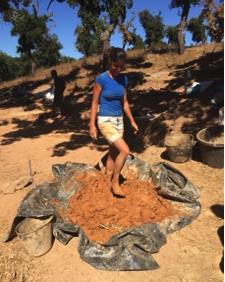
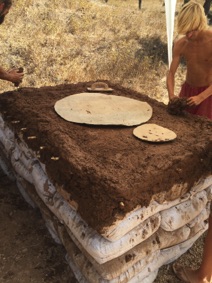
After that we made a soil test to make sure we had the desired clay ratio (around 20% clay subsoil and 80% sandy subsoil, add chopped straw to the mix so it is nice and firm). The cob looked very good so we started covering the base structure with clay which attached quite well to the bags.
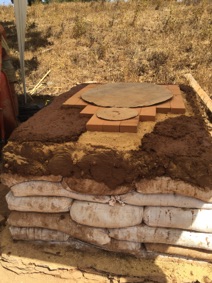
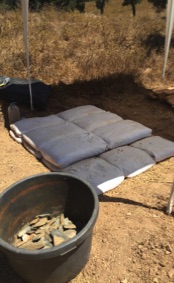
When we were that far we started laying the fire bricks as level as possible on a 5-10 cm bed of sand, working carefully with a small hammer making sure they were very tight and flat. Following we started making the sand dome which was going to become the inner chamber area where the magic will happen. We used moist sifted sand, making a mould of about 69cm in diameter and about 40-50cm high with a “pre chamber” of about 45 cm wide, 40 high and 30 cm long to which a chimney is going to be connected at the top to make the pre heating of the oven easier and less aggressive for the operator. To decide the door hight we multiplied the hight of the inner chamber by 0.63, as 63 % of the vertical maximum area is a good size to ensure that no to much heat escapes nor would it become too hot. As for width, 30-50% of the inner diameter is good.
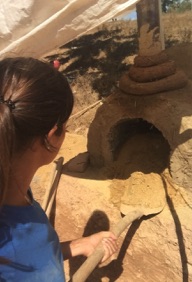
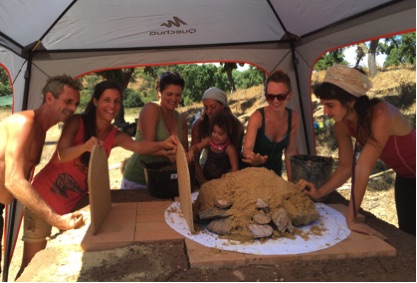
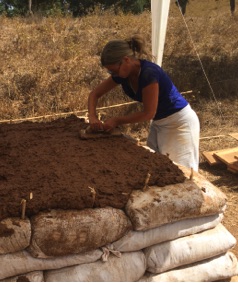
When this is done cover your sand form with sheets of wet newspaper. After that, you can finally start covering the dome with cob! without pressing into the sand form, we build it up in layers from the bottom up, covering the whole form, even where the door goes.
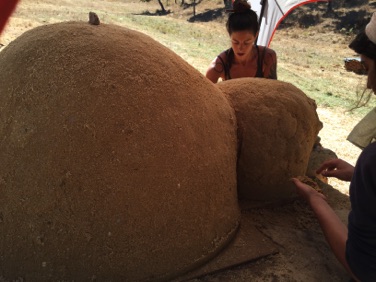
We gave the dome a good 3 layers of about 4 cm thick cob, making sure it will both insulate and store a good amount of heat. We waited a few days in between making layers making sure they will dry. When the last layer felt dryish and strong, we scratched the line where the door is going to be and we removed the sand from inside leaving the inner chambers empty. It looked like an Oven already!
We cut a metal door for the inner chamber and screwed a 90° metal shelf holder to use as a handle and to keep the door close. For the outer door we made a thick wood door with another metal sheet attached to it to make sure it won’t burn. It is important to leave a small hole (about 4x6 cm) on the outer door to make sure that air can be “sucked” in and blown out through the chimney when firing and heating the oven.
After that, we fired the oven up and tried it out! We felt that it wasn’t insulating enough so we added an extra layer of cob making the oven about 16 cm thick.
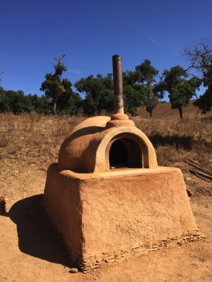
Once the operation was done, we added a few layers of lime stone with clay and sand to seal protect the structure from water and made a small roof.
Learn and enjoy the oven! For us once it it’s hot, we make pizzas which take about a minute to be done, once the heat goes down a bit we feed it lasagnas, potatoes, cakes and what not. Lastly we put different bread doughs that cook slowly and leave them for the morning to have fresh warm bread for breakfast. The smells and tastes that we get out of such a structure are heavenly and can’t be properly described by words other than aaaaarrrrrghhhhh mmmmhh yum yum!


The Clay Oven
6 Feb 2018